The Spider Farmer SF1000 for microgreens on wire shelves is one of the most efficient ways to run a compact, high-yield microgreens stack at home or in a small commercial space. A single SF1000 draws roughly 100 watts at the wall, delivers a full-spectrum Samsung LM301B diode footprint of about 2 ft x 2 ft, and pairs naturally with standard 1020 trays placed on a chrome or black wire shelving unit. In this 2026 buyers guide we walk through shelf spacing, mounting height, PPFD targets, photoperiod, heat management, and the accessory list that makes this lighting-plus-rack combo punch well above its price.
If you have ever tried to germinate sunflower, pea, radish, or broccoli microgreens under a windowsill or a generic blurple panel, you already know why a dedicated LED matters: stretched, pale shoots are the inevitable result of inadequate or poorly distributed light. The SF1000 was designed for a 2 x 2 tent footprint, which conveniently maps to a four-tray (10 in x 20 in) layout on a typical 14 in x 24 in or 18 in x 24 in wire shelf. With one fixture per shelf and 12 to 18 inches of vertical clearance, you can run a four- or five-tier stack in a closet, pantry, or garage and still pull dense, evenly canopied trays every 8 to 14 days.
Why the Spider Farmer SF1000 Works So Well for Microgreens
Microgreens are harvested at the cotyledon or first-true-leaf stage, so they do not need flowering-grade intensity. What they do need is uniform, full-spectrum light across the entire tray, low heat at close range, and a duty cycle that won't push your electric bill into the red. The SF1000 hits all three. Its dimmer lets you idle the panel at 30 to 50 percent during the first 24 to 48 hours after the blackout dome comes off, then ramp up to 70 or 80 percent for the bulking phase. Samsung LM301B diodes plus Mean Well drivers keep efficiency near 2.7 umol/J, which means more photons per watt and less waste heat radiating onto delicate cotyledons.
When shopping for Spider Farmer SF1000 for microgreens on wire shelves, it pays to compare specs, capacity, and real-world runtime before committing.
The fixture is also passively cooled - no fan, no noise, no dust intake. On a wire shelf stack that is a huge advantage because each tier becomes a thermally independent micro-environment, and you avoid the cascading airflow problems that come with stacking fan-cooled lights one above the other.
Footprint and Tray Coverage
At a 12 inch hang distance the SF1000 produces a usable footprint of approximately 24 in x 24 in with PPFD readings of roughly 400 to 500 umol/m2/s in the center and 200 to 300 umol/m2/s in the corners. For microgreens that center intensity is actually overkill at 100 percent power - which is exactly why the built-in dimmer is your most important tool. Dim the panel to about 50 percent and you land in the 150 to 250 umol/m2/s range across the whole shelf, which is the sweet spot for dense, short-stemmed greens that hold color and crunch.
Four 1020 trays fit neatly in a 2 x 2 grid on most wire shelves rated for 14 in or 18 in depth. If your shelf is the 24 in deep variety you can squeeze in five or six smaller 5 in x 5 in trays per tier instead, which is useful for variety packs or restaurant accounts.
Choosing the Right Wire Shelving Unit
The classic NSF-certified chrome wire shelf - the kind sold in 14 in, 18 in, 21 in, and 24 in depths with adjustable 1 in increments - is ideal because the shelves themselves are perforated. That perforation lets bottom-watering trays drain freely, lets heat from any optional propagation mats escape upward, and gives you near-infinite control over vertical spacing. Black-coated wire is the most popular choice because it hides algae and mineral stains better than chrome.
For a four-tier microgreens stack you want shelves spaced 12 to 16 inches apart. That leaves enough room for the SF1000 (which is about 1.6 in thick), the hanging hardware (ratchet ropes shave 2 to 4 in off your usable height), an upside-down 1020 humidity dome during germination, and the canopy of finished greens just before harvest. If you are growing tall varieties like sunflower or pea shoots, bump that spacing to 16 to 18 inches.
Load Rating and Stability
A flooded 1020 tray weighs about 5 to 7 pounds, so four trays plus dome plus reservoir water rarely exceeds 35 pounds per shelf - well within the 250 to 800 pound per-shelf rating of commercial wire units. The bigger issue is tipping. Five-foot stacks should be anchored to a wall stud with a simple L-bracket, especially if pets or kids share the space, and the bottom shelf should sit no more than 2 inches off the floor for stability.
Mounting the SF1000 to a Wire Shelf
The fixture ships with two adjustable rope ratchets. On a wire shelf you do not hang from the shelf above; you hang from the underside of the shelf above using S-hooks or carabiners hooked directly through the wire grid. This gives you continuous height adjustment and avoids drilling. Start with the light 18 to 24 inches above the soil line during germination, then lower it to 12 to 14 inches once the canopy is established. A laser distance meter or a cheap PAR meter app on your phone (calibrated against a real meter once) will save you a lot of guesswork.
If your shelf-to-shelf spacing is tight, you can also use slim magnetic mounts or zip ties to fix the SF1000 flush against the underside of the upper shelf. You lose a little adjustability but gain 3 to 4 inches of headroom per tier, which can be the difference between a four-tier and a five-tier stack.
Power, Timers, and Daisy-Chaining
Each SF1000 pulls roughly 100 W at full and about 50 W at 50 percent dim. A standard 15 A residential circuit handles 10 to 12 fixtures with margin, but most growers put each shelf on a smart plug or a mechanical timer for a 16 to 18 hour photoperiod. Microgreens do not require darkness to flower (you are harvesting before flowering), so some growers run 20 or even 24 hour light cycles to shave a day or two off the schedule. The trade-off is roughly 20 to 30 percent more electricity for marginal yield gains, so 16/8 or 18/6 remains the sweet spot for most home setups.
The SF1000 does not officially support daisy-chaining like the SF2000 and SF4000 do, so plan on one outlet per fixture. A six-outlet surge strip mounted vertically along the back of the shelf keeps the wiring tidy.
Heat, Humidity, and Airflow on a Stack
Even with a passively cooled LED, a four- or five-tier microgreens stack will warm the surrounding air by 4 to 8 degrees F. That is usually a feature, not a bug - microgreens germinate fastest at 70 to 75 degrees F - but it can drive humidity past 80 percent if the room is not ventilated. A single clip-on 6 inch oscillating fan placed at the midpoint of the rack, plus a cracked door or a small intake vent, will keep relative humidity in the healthy 50 to 65 percent range and dramatically reduce damping-off risk. For more on this balance see our guide to maintaining humidity levels for indoor gardening.
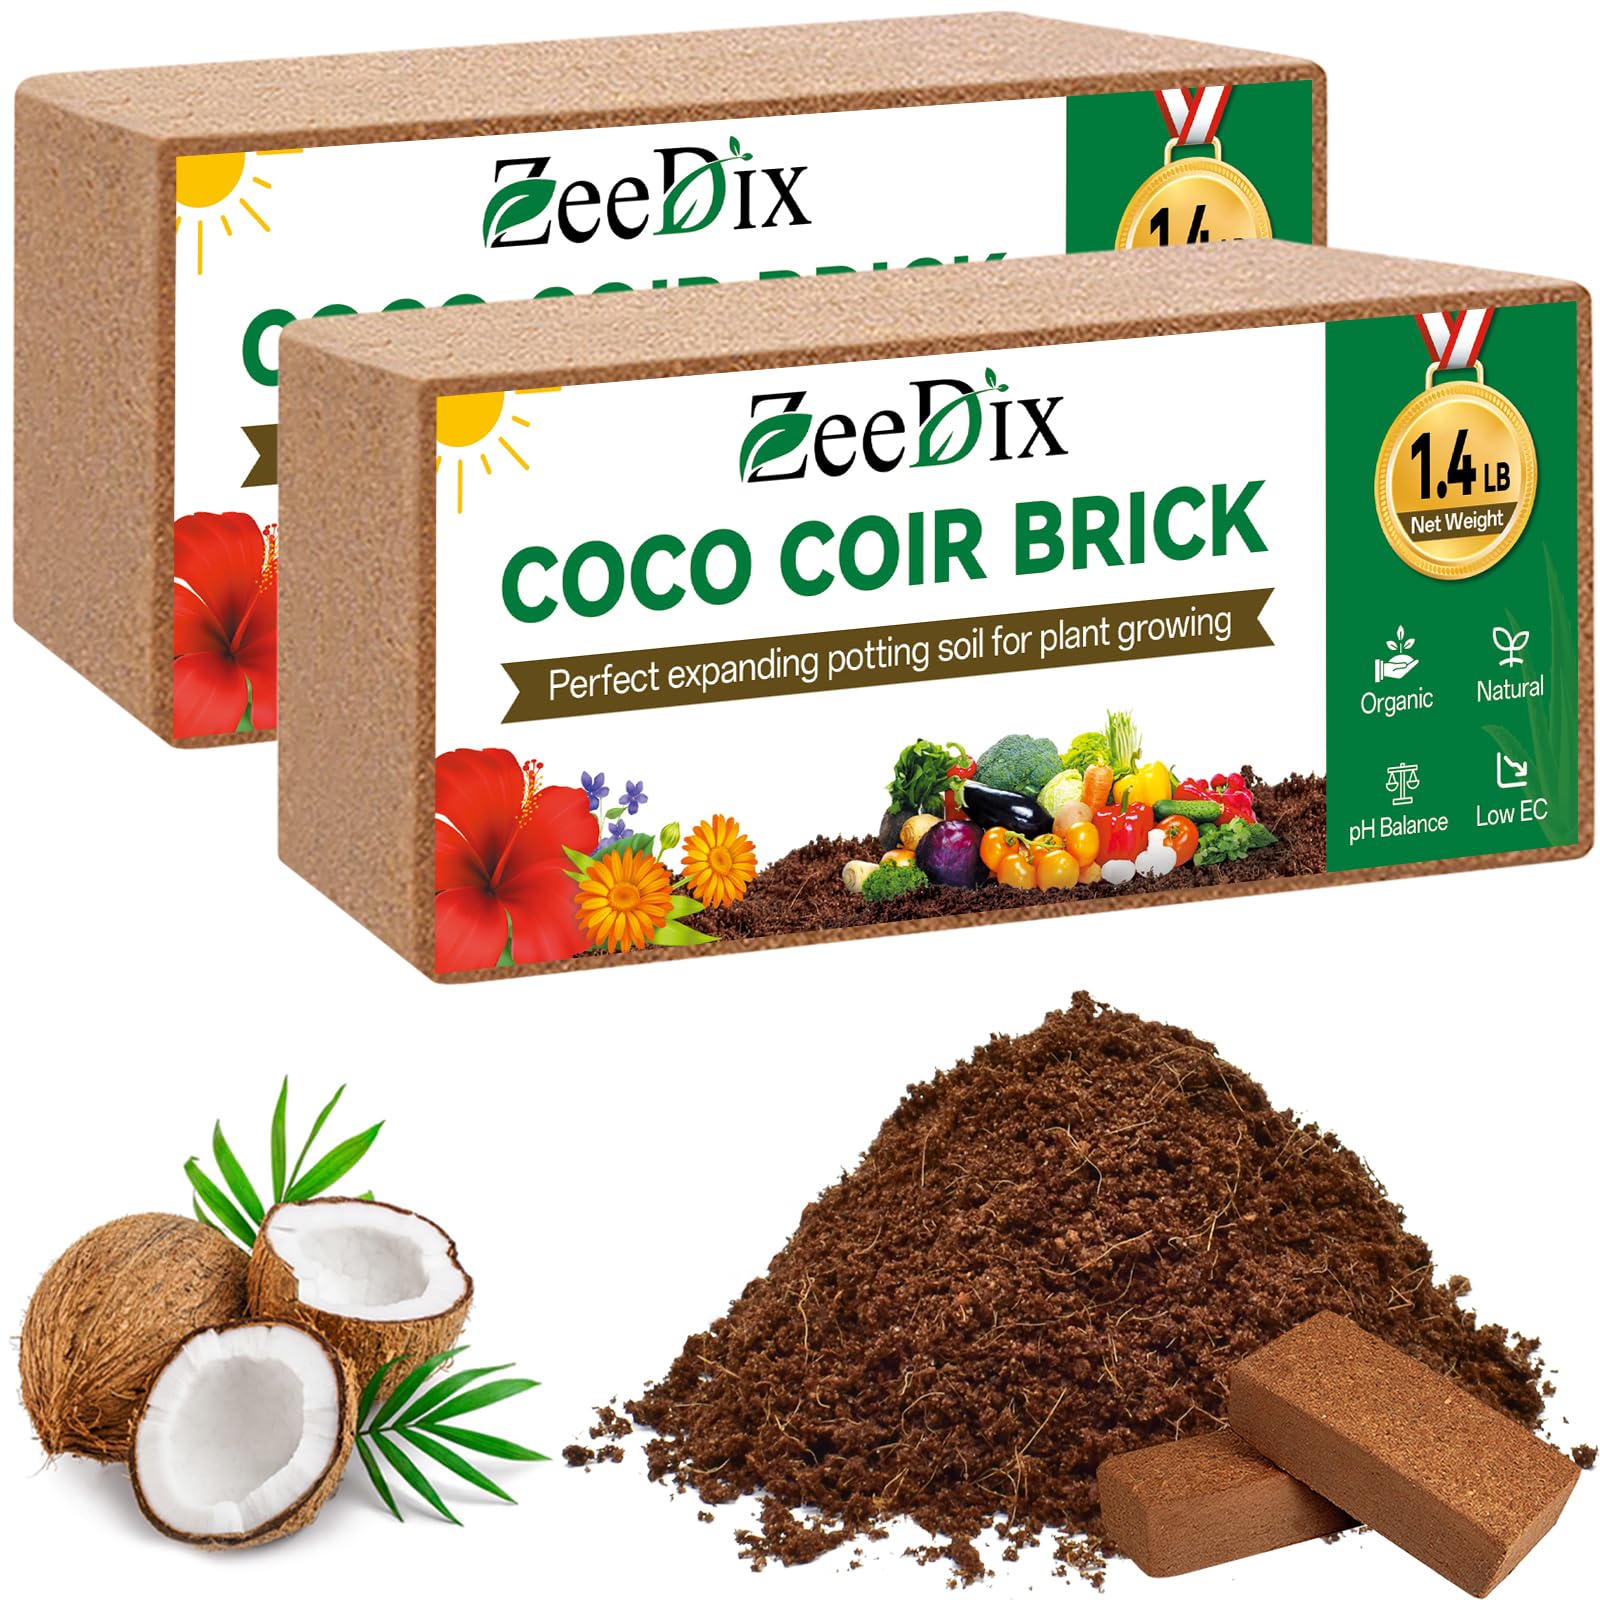
Soil, Coco, or Hydroponic Pads?
The SF1000 does not care what substrate you use, but the substrate decision affects shelf spacing, weight, and watering frequency. A 1020 tray of pre-moistened coco coir or peat-based seed-starting mix weighs about 5 pounds and holds water for 24 to 36 hours. Hemp or jute hydroponic grow mats weigh under a pound dry, drain instantly, and need watering twice a day, but produce cleaner roots that customers love. If you are still deciding, our breakdown of coco coir vs soil covers the trade-offs for compact indoor setups.
A Realistic Four-Tier Build List
- 1 x 48 in or 54 in tall black wire shelving unit, 18 in x 36 in or similar
- 4 x Spider Farmer SF1000 LED panels (one per tier)
- 16 x 1020 shallow trays without holes (reservoir trays)
- 16 x 1020 shallow trays with holes (grow trays)
- 4 x 10²⁰ humidity domes (reusable for years)
- 1 x 6 inch clip-on oscillating fan
- 4 x mechanical or smart-plug timers
- 1 x cheap hygrometer/thermometer per shelf
- S-hooks, carabiners, or zip ties for mounting
Total upfront cost in 2026 runs $450 to $600 depending on shelf brand and whether you buy trays in bulk. Payback against retail microgreen pricing (typically $25 to $40 per pound to chefs and farmers markets) is usually under 90 days if you sell consistently.
Comparing the SF1000 to Other Common Microgreens Lights
| Fixture | Wattage | Footprint at 12 in | Passive Cooling | Dimmable | Best Use Case |
|---|---|---|---|---|---|
| Spider Farmer SF1000 | 100 W | 2 x 2 ft | Yes | Yes | 4-tray microgreens shelf |
| Generic 4 ft T5 fluorescent | 54 W x 4 = 216 W | 1 x 4 ft | Yes | No | Wide, shallow shelves |
| Barrina T8 LED strip | 20 W per strip | varies | Yes | No | Budget builds |
| Spider Farmer SF2000 | 200 W | 3 x 3 ft | Yes | Yes | Larger trays or 6-pack shelves |
If you are building only one or two shelves and want the cleanest footprint match, the SF1000 is the obvious pick. If you are running a deeper 24 in x 48 in commercial wire shelf, two SF1000s or one SF2000 per tier gives more even coverage. For a broader look at lighting options see our roundup of the top LED grow lights of 2026.
Workflow: From Seed to Harvest in 10 Days
A typical workflow on this rack looks like this. Day 0: pre-soak seeds, fill grow trays with 1 to 1.5 inches of damp medium, surface-sow, mist, stack trays with weight or an inverted tray on top for 48 to 72 hours of blackout germination. Day 3 to 4: move trays under the SF1000 at 50 percent power, 18 in away, with humidity dome cracked. Day 5: remove dome, raise light power to 70 percent, water from the bottom only. Day 7 to 10: harvest with a sharp knife or electric trimmer, refrigerate immediately. Reset the tier and repeat. With a four-tier stack staggered every two days you can pull a fresh tray almost every single day.
For new growers who want a more guided introduction before investing in a multi-tier rack, our indoor garden beginners guide walks through the fundamentals that apply to any crop, not just microgreens.
Frequently Asked Questions
How high should I hang the Spider Farmer SF1000 above a microgreens tray?
Start at 18 to 24 inches above the soil line during germination with the dimmer at 30 to 50 percent, then lower the light to 12 to 14 inches once true cotyledons appear and bump the dimmer to 60 to 80 percent. The goal is roughly 150 to 250 umol/m2/s across the tray surface. If leaves cup or bleach, raise the panel or dim it further; if shoots stretch and lean, lower it or increase intensity.
Can one Spider Farmer SF1000 cover four 1020 microgreens trays?
Yes. At a 12 inch hang the SF1000 puts out a usable 2 ft x 2 ft footprint, which is exactly the area covered by four 10 in x 20 in trays arranged in a 2 x 2 grid. Corner intensity drops by roughly 40 percent compared to center, so rotate trays 90 degrees once per cycle for the most uniform canopies.
What photoperiod should I run for microgreens under the SF1000?
16 to 18 hours on, 6 to 8 hours off is the standard. Microgreens are harvested before flowering, so day length does not trigger reproductive changes, but a short dark period reduces stress and saves electricity. Some growers run 24/0 for a small speed boost; the marginal yield rarely justifies the extra cost.
Will the SF1000 overheat a wire shelf stack?
No. The SF1000 is passively cooled and adds only 3 to 6 degrees F per tier when dimmed for microgreens. A single 6 inch clip-on fan placed mid-rack keeps temperature and humidity in range. Compare that to fan-cooled fixtures that can compound airflow issues across tiers and create hot pockets on closed stacks.
Do I need a humidity dome under the Spider Farmer SF1000?
Use a dome for the first 24 to 72 hours after light-on to prevent the seed surface from drying out, then remove it permanently. Leaving the dome on too long under any LED encourages damping-off and leggy growth. Bottom-watering once or twice a day after dome removal keeps moisture where roots need it without wetting the canopy.
How many trays per week can I produce from a four-tier SF1000 stack?
With a 10 day average cycle and four trays per tier, a four-tier stack rotated on a staggered schedule yields roughly 11 to 14 trays per week. At an average of 8 to 14 ounces of harvested greens per tray, that is 5 to 12 pounds of finished product weekly - enough to supply a small farmers market booth or two to three restaurant accounts.
Is the SF1000 worth it compared to cheap T5 fluorescents?
For microgreens specifically, T5s still work and cost less upfront, but they consume more than twice the wattage for similar usable PAR, run hotter, dim poorly, and degrade quickly. The SF1000 typically pays for itself in 12 to 24 months on electricity savings alone, plus you get a dimmer, full spectrum, and a 5-year warranty. For a deeper comparison see our article on LED grow lights vs fluorescent.
Final Take
A Spider Farmer SF1000 for microgreens on wire shelves is one of the cleanest, most space-efficient builds in indoor growing right now. The fixture's 2 x 2 ft footprint, passive cooling, and continuous dimmer match the requirements of stacked 1020 microgreens trays better than almost any other 100 W class LED on the market. Combine it with an NSF-rated wire rack, a small oscillating fan, and a basic timer, and you have a near-silent, low-heat production line that fits in a closet, scales to commercial volumes, and pays for itself in a few months of consistent harvests.
Key Takeaways
- Choosing the right Spider Farmer SF1000 for microgreens on wire shelves means matching capacity and output ports to your actual devices
- Always check actual watt-hours (Wh), not just watts — runtime depends on Wh, not peak output
- Also covers: SF1000 microgreens PPFD
- Also covers: Spider Farmer microgreens shelf rack
- Also covers: wire shelf microgreens lighting
- Compare price-per-Wh across models to find the best value for your budget